Introduction
A well-organized master bedroom closet not only enhances the aesthetic appeal of your room but also contributes to a more efficient daily routine. However, when dealing with a small closet, the task of organizing can seem daunting. With thoughtful planning and strategic use of space, even the most compact closets can be transformed into functional storage areas.
Understanding the Challenges of Small Closets
Small closets often present several challenges:
- Limited Hanging Space: Insufficient rods or shelves can make it difficult to store clothes properly.
- Clutter Accumulation: Without proper organization, items can quickly become disordered.
- Underutilized Space: Corners and upper areas are often neglected, leading to wasted storage potential.
Addressing these challenges requires a systematic approach to maximize every inch of available space.
Step by Step Guide to Organizing a Small Master Closet
Declutter and Simplify
Begin by removing items that are no longer needed or used. This includes clothes that don’t fit, are out of season, or haven’t been worn in the past year. A good rule of thumb is the “one-year rule”: if you haven’t worn it in a year, it’s time to let it go. This process not only frees up space but also makes it easier to organize what’s left.
Assess Your Storage Needs
Identify what items you need to store in your closet. This could include clothing, shoes, accessories, and seasonal items. Understanding your storage requirements will help in selecting the appropriate organizational tools and systems.
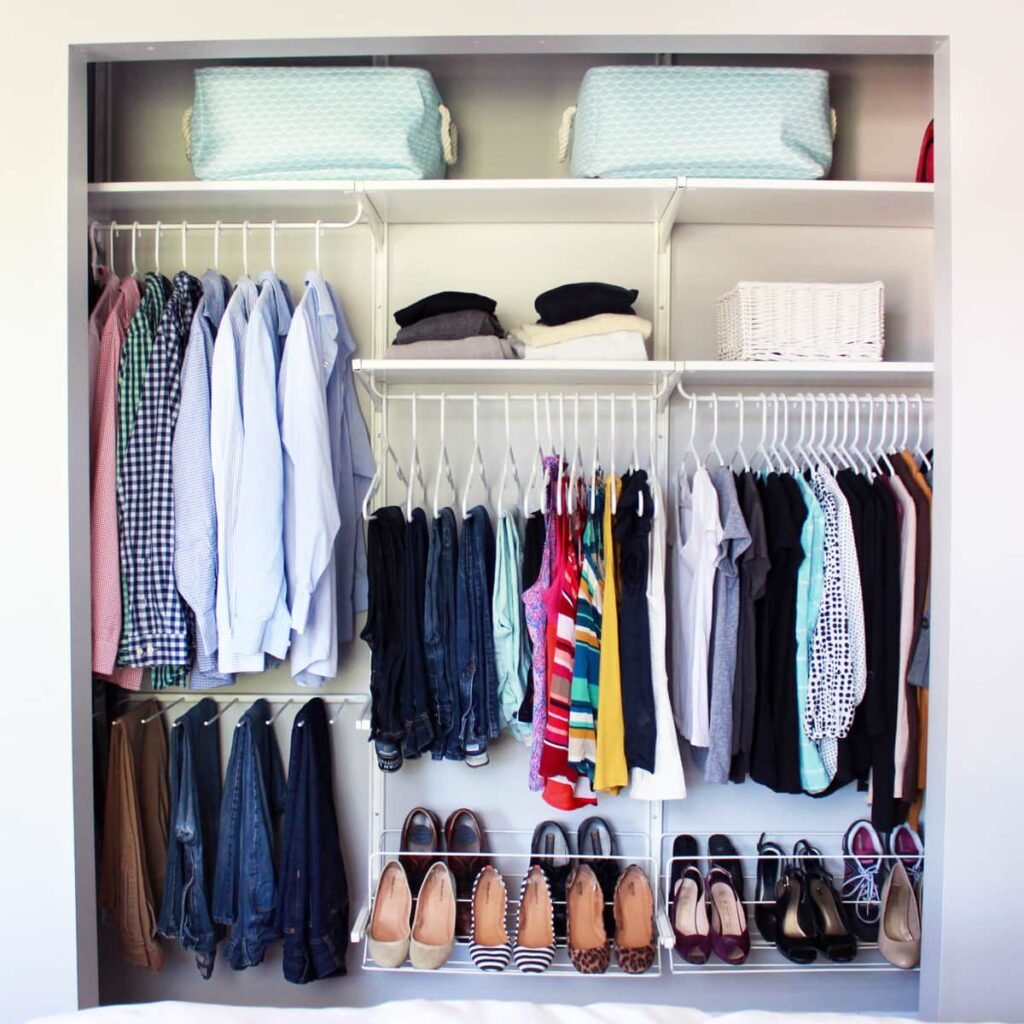
Maximize Vertical Space
Utilize the full height of your closet by installing additional shelves or hanging rods. For example, placing a second rod below the first can create a space for shorter items like shirts or pants. Additionally, consider using the top shelves for bins or boxes to store seasonal or infrequently used items.
Implement Smart Storage Solutions
Incorporate storage solutions such as:
- Slim Hangers: These save space and allow for more items to be hung.
- Over-the-Door Organizers: Ideal for accessories, shoes, or small items.
- Storage Bins: Useful for keeping items organized and dust-free.
- Hooks or Pegboards: Great for belts, scarves, or hats.
These tools help in keeping the closet organized and accessible.
Creative Storage Ideas for Small Closets
Utilize Closet Doors
The inside of closet doors can be used to hang organizers for shoes, accessories, or cleaning supplies. This approach saves valuable floor and shelf space.
Incorporate Under-Bed Storage
If your closet space is limited, consider using the area under your bed for additional storage. Storage bins or drawers can be used to store off-season clothing or other items.
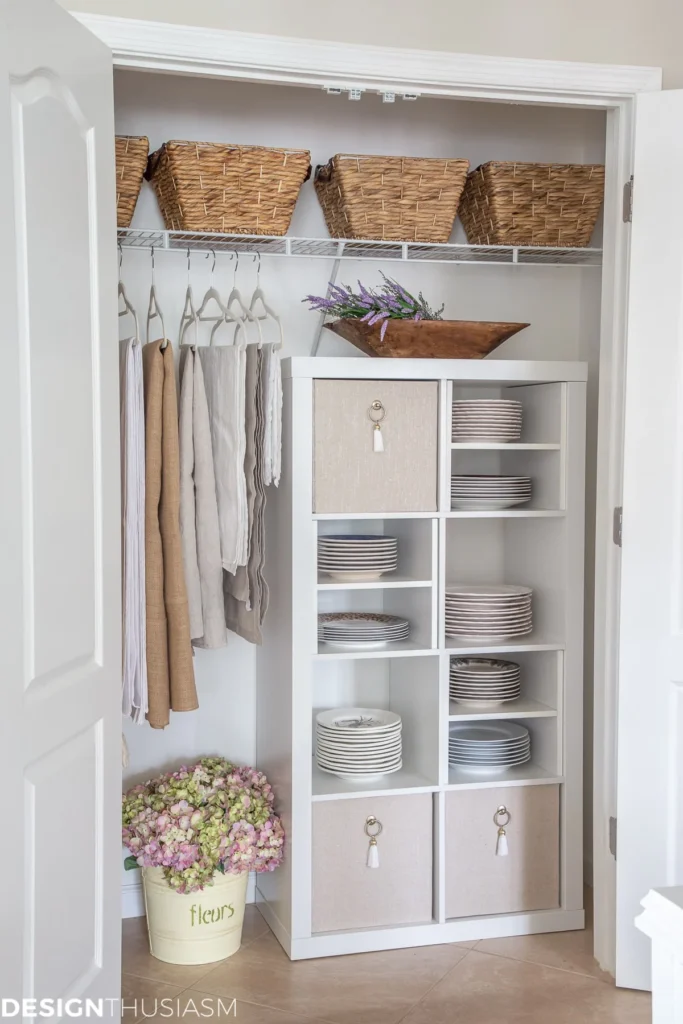
Add Shelving Units
Freestanding or wall-mounted shelves can provide extra storage for folded clothes, shoes, or accessories. Ensure that the shelves are sturdy and appropriately sized for your closet space.
Use Multi-Functional Furniture
Furniture pieces that serve multiple purposes, such as a bench with storage or a dresser inside the closet, can help maximize space. These pieces provide additional storage while serving their primary function.
Seasonal Wardrobe Management
Rotate your wardrobe seasonally to keep your closet organized. Store off-season clothing in bins or under-bed storage to free up space for current season items. This practice not only keeps your closet organized but also makes it easier to find what you need.
Maintaining an Organized Closet
To keep your closet organized:
- Regularly Declutter: Periodically review your items and remove anything that’s no longer needed.
- Return Items Promptly: After using an item, return it to its designated spot.
- Label Storage Bins: Clearly label bins and boxes to easily identify contents.
- Keep Similar Items Together: Group similar items, such as shoes or accessories, to make them easier to find.
By maintaining these habits, your closet will remain organized and functional.
Table of Contents
Conclusion
Introduction
Understanding the Challenges of Small Closets
Step-by-Step Guide to Organizing a Small Master Closet
Declutter and Simplify
Assess Your Storage Needs
Maximize Vertical Space
Implement Smart Storage Solutions
Creative Storage Ideas for Small Closets
Utilize Closet Doors
Incorporate Under-Bed Storage
Add Shelving Units
Use Multi-Functional Furniture
Seasonal Wardrobe Management
Maintaining an Organized Closet
Conclusion
Organizing a small master bedroom closet is achievable with thoughtful planning and the use of effective storage solutions. By decluttering, assessing your storage needs, maximizing space, and implementing creative storage ideas, you can transform your small closet into a well-organized and efficient space. Remember, the key is to make the most of the space you have and to maintain an organized system that works for you.